You ARE creative. Let me inspire you!
You ARE creative. Let me inspire you!

Remember the story of the Wizard of Oz? I remember when the house landed and Dorothy stepped out into a world of color and munchkins.I also remember the excitement I felt as she and Toto started skipping down the yellow brick road. What adventures will she encounter? Will it be fun? Will it be frightening? Dorothy has no idea what will happen along the path, she’s just hoping to get to the powerful Wizard of Oz so he can help her get home! Along the way Dorothy’s going to make new friends, do things she never thought she could, and in the end, she discovers that she’s always had the power inside her.
I don’t know about you, but this sounds like the Zentangle Method. You never know where you’re going until you get there and you discover things about yourself along the way! So what do you say; shall we follow the Yellow Brick Road, or the pencil string line?
Step Four of the Zentangle® Method is the String. This step is where the magic begins! I’ve been enchanted with this step since I became a CZT and learned about its mysterious powers!
In Zentangle the string guides you through your practice. It provides a map for your tangles and guides you as you make your way from one tangle to another.
It wouldn't be polite to jump right into step 4 without a quick review of the first 3 steps of the Zentangle Method to remind you of how the string fits into the process.
I know it sounds simple enough, and let’s just be honest here, we all tend to make things more complicated that they really are. I admit it can be a stumbling block in my own Daily Zentangle Practice (DZP), so let’s get right into it so that we can all experience the magic!
The string is drawn in pencil. It’s drawn in pencil because that pencil string will disappear behind the tangles. The string is also drawn quickly, without much thought. Not as easy as it sounds like I said before. At first, my strings were too “busy” with lots of small sections. It’s hard for me to draw tangles so small. I had to remember that the string is just a suggestion. The cool thing is that you can choose to use the string in its entirety, or just use the sections that speak to you. Combine sections or ignore them all together. The choice is yours!


Remember that there is no up or down with the Zentangle Method. You are not drawing anything, you are drawing patterns. Let the tile guide you, this step is where it starts. The string is the foundation or map for your tangles, which is Step Five.
The trick is letting go of the need to plan and just let it flow! If I draw the string quickly and without thinking, it always works out just fine.


The Magic of the string is something we like to call the “Elegance of Limits”.Our minds are far more creative when we have limitations. I’ll give you an example. I’ll bet you’ve had to prepare a meal using only what’s in the fridge. You got creative and whipped up something I like to call “Leftover Surprise”! It’s just like that.
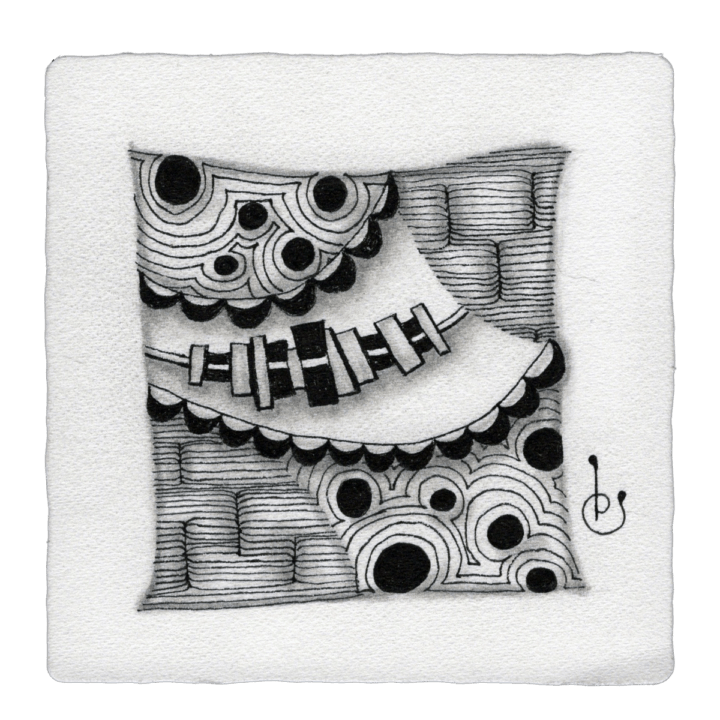
Once you draw your string, you can look at the sections and if you listen, the tile will start to speak to you. It might say, “Oooh, Hollibaugh would look cool in this space!”, or “This space is perfect for Marasu!” Remember to breathe, and with practice you will experience the magic!


Don’t let the string be your stumbling block in the Zentangle Method. I’ve shown you a few strings here in this post that you can use on those days when you just need a little quick start magic for your Zentangle practice. Next time you sit down with pen in hand, remember this enchanting step of the Zentangle method.
Til next time,
Be You & Be Happy!
